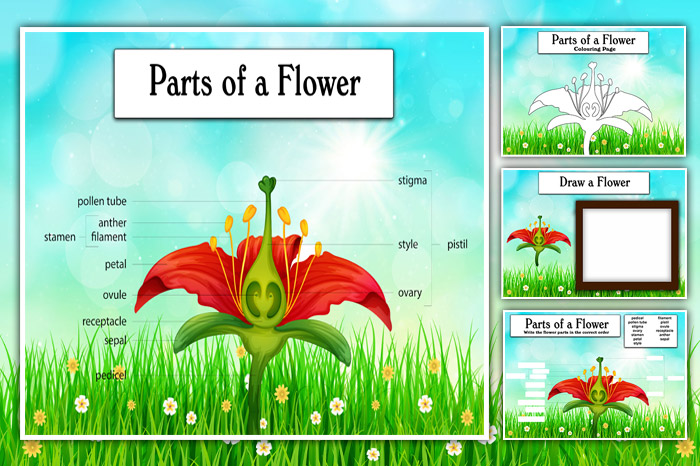
Fancy some flowery fun? We have a great science activity and worksheet pack that your child will love getting stuck into! Labelling, colouring and even dissection. Our pack is a wonderful way to inspire young minds and create budding botanists. Download our Parts of a Flower for Kids – Free, Printable Worksheets to get started. Grown-ups might learn something too!
What’s Included in our Parts of a Flower Worksheet Pack?
Parts of a Flower Labelled Diagram – Page 1
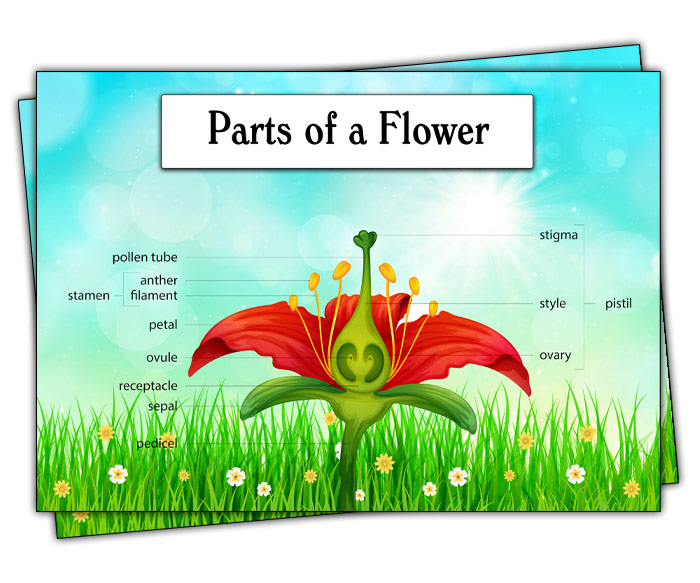
Our pack begins with a clear and colourful plant diagram for kids. A useful picture of a flower with labelled parts, the key terms your child will learn. Talk through the diagram together and the job each part of the flower does.
What Do the Different Parts of a Flower Do?
If you are not up to scratch on your botany, don’t worry! We’ve got all the information you’ll need about the parts of a flower.
The Structure of a Flower
- Pedicel – The stalk that supports a single flower.
- Sepal – Special leaves that protect the flower before it blooms.
- Receptacle – The part of the stalk that the flower is attached to.
- Petal – The colourful parts, used to attract insects.
The Male Parts of a Flower
- Anther – Produces pollen.
- Filament – Holds the anther up.
- Stamen – The male parts of the flower, the anther and filament, are together, known as the stamen.
The Female Parts of a Flower
- Stigma – The sticky bit at the top of the pistil that catches pollen. The pollen could come from the anther of the flower or be brought in from other flowers by insects or the wind
- Style – Holds the stigma up.
- Ovary –Contains the ovules and turns into fruit when the ovules are fertilised.
- Ovule – The part that turns into a seed, when it has been fertilised.
- Pollen Tube – When a grain of pollen from another flower lands on the stigma, a pollen tube grows down through the style and into the ovary. It joins the pollen to the ovule so the flower can be fertilized and form fruits and seeds.
- Pistil – The female parts of a flower, the stigma, style, ovary and ovules, are together, known as the pistil.
Label the Parts of a Flower Worksheet – Page 2
Now that your little scientist has learnt the names of the different parts of the flower, it’s time to see if they can recall them. This could be done in a few different ways, depending on their age or how confident they feel.
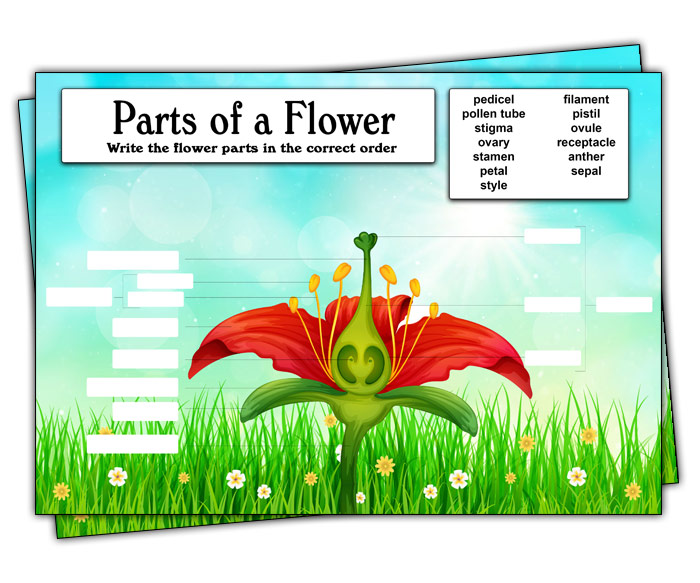
- Look, Cover, Write, Check – Look at the labelled diagram, cover it, write down as many labels as possible and check the answers. This can be repeated a few times until all of the boxes are filled.
- Cut and stick – Cut out the names from the key terms box and stick them into the right place on the plant.
- Finish the word – Write the first letter of each word in the boxes and let your child finish them. This is a great way to learn the spellings too.
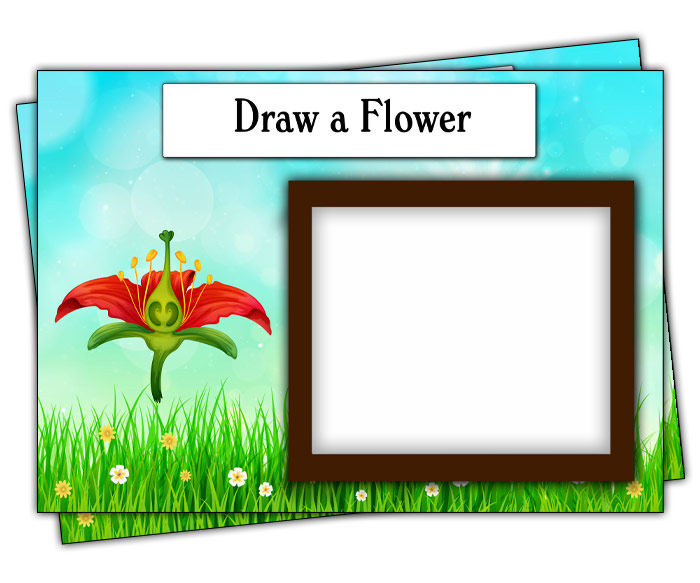
Draw a Flower – Page 3
To really get this knowledge to stick the next step is to draw the flower for themselves. This worksheet also has the parts of a flower image there for them to refer to.
Fun Challenges
- Exact copy – Have your child try to make an exact copy of the picture. They could even use a ruler to get the size right.
- From Memory – Cover the flower diagram and try to draw the picture from memory. Agree rules like a three-second peek is allowed.
- Lovely Labels – Once your child has drawn a copy of the diagram, ask them to label it with the names of the flower parts. You could let them use the list of the key terms from the Label the Parts of the Flower worksheet if they need support.
- Awesome Annotations – If they’ve nailed the names of the flower parts, challenge your brainy botanist to add annotations. These should say some of the things the parts of the flowers do.
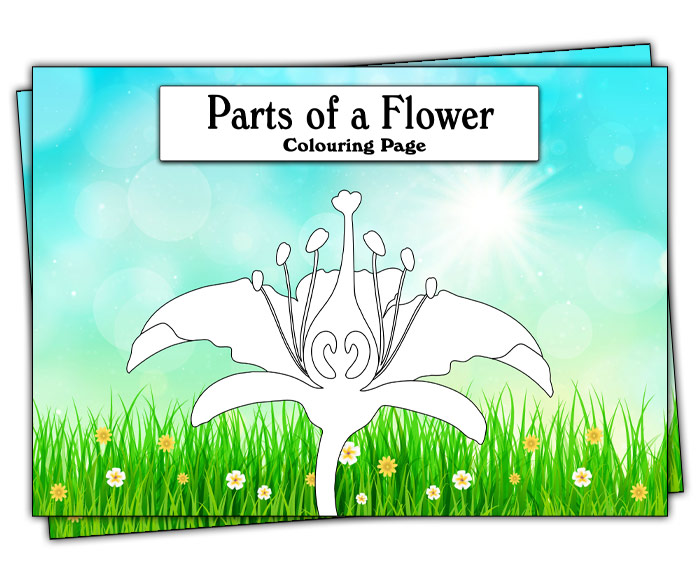
Parts of a Flower Colouring Page – Page 4
Finish off the worksheet pack by colouring a fab parts of a flower picture. Your child will love being able to design their own colourful petals and talk about the different parts with you.
Extra Fun
- Use pipe cleaners and pompoms to make 3D filaments and anthers.
- Glue on tissue paper to create life-like petals.
- Stick on real seeds like sesame or poppy to represent the seeds in the ovary.
- When your little artist’s work is complete, upload it to our Gallery Page. We’d love to see their wonderful creation!
Take the learning further
Perform a flower dissection with your child. This will allow them to see the parts in real life and cement their learning.
What You Will Need
- A large flower – daffodils, tulips and lilies work really well.
- Scissors or a knife. An ordinary butter knife is fine. You won’t need anything too sharp.
Optional
- A plain piece of paper or card.
- A pen or pencil.
- Glue or pins.
How to do a Flower Dissection with Kids
With your little botanist, carefully take the flower apart. Name the parts as you find them, your parts of a flower diagram will be useful for this. Once a part has been removed, glue or pin it to the paper and let your child write its name.
Each flower will be different but below is a useful guide for the order of dissection.
- Pull off the petals.
- Remove the stamen.
- Remove the pistil.
- Split the pistil into stigma, style and ovary.
- Split open the ovary.
- Remove the ovules from inside the ovary.
The amount of support each child needs to complete the dissection will vary. Many will require lots of help with the first flower. However, after they’ve done it once they’re likely to want to show off and tackle another on their own. Make sure you have some spare flowers handy!
You can preserve their work by pressing it, laminating it or taking a photo and printing it for display.
Ready to Start Learning the Parts of a Flower With Your Child?
Download our Parts of a Flower Kids Worksheets HERE.
Did Your Little Scientist Love Our Parts of a Flower for Kids Worksheets?
We have lots more amazing science activities to complete next. How about trying our wonderful weather, spectacular space and mysterious moon interactive worksheet packs?

