If your child is anything like mine they LOVE mermaids! We have mermaid pyjamas, fishtail blankets and have eaten way more blue and purple sparkly ‘mermaid’ foods than can be healthy.
The good thing about this fishy obsession is that when I need a quiet, fun activity, that will develop her fine motor skills, I can always capture her interest with mermaid colouring pages!
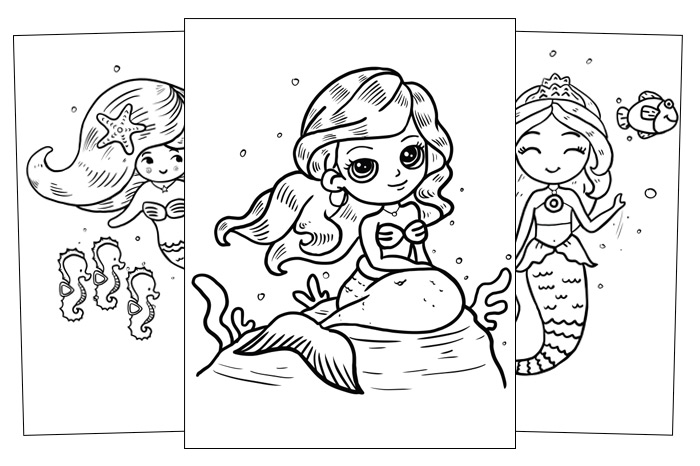
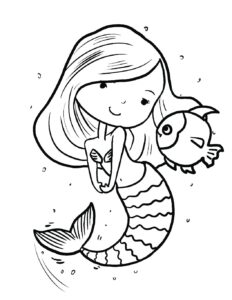
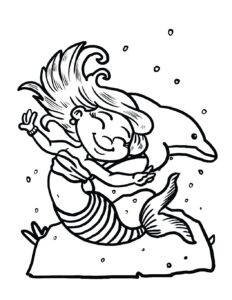
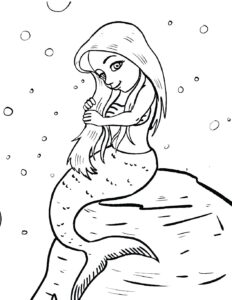
Our Mermaid Colouring Pages Include
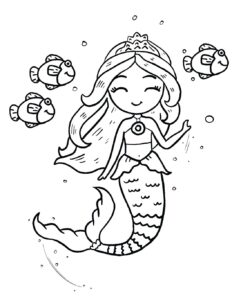
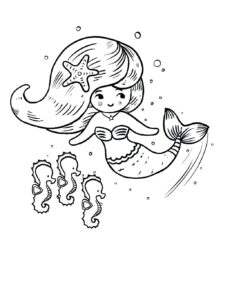
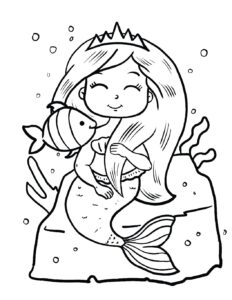
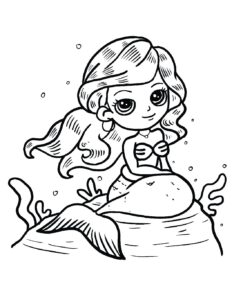
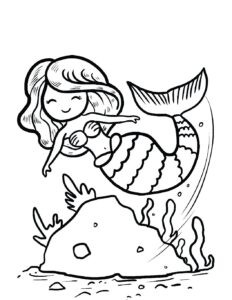
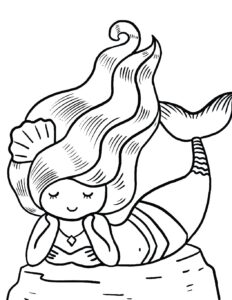
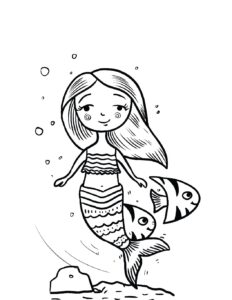
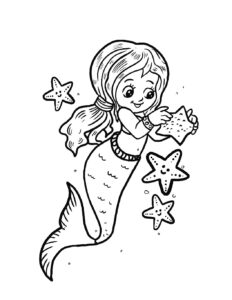
As you can see below we have 14 gorgeous designs to choose from. Our beautiful mermaids can be seen posing on rocks, playing with starfish and crabs and dancing with dolphins and seahorses. We even have a few mermaid princesses!
Mermaid Colouring Ideas And Tips
Pens and Pencils – When toddlers first start to colour they are developing their gross motor skills. Moving their whole arm to drag their pen across the paper. This is why they scribble and don’t colour inside the lines. It’s an important developmental stage so let them go for it and don’t worry about those lines at all. Between 3 and 5 years old they will start using colouring as an opportunity to develop their fine motor skills. Moving their fingers and wrist to control the pen. Only now will they have enough control to even think about those lines.
Rainbow Crayons – You know all of those old, broken bits of crayon at the bottom of the box? Now’s the time to use them to add some colour surprise to your little one’s artwork.
Find a silicone baking mould with small shapes. We found these great ones in a mermaid design. Or use silicone cupcake moulds.
Place the moulds on a metal baking tray.
Remove any paper wrappers from the crayons.
If they are not already small enough, break the crayons so that they can fit into the moulds.
Randomly add crayons to the moulds using a mixture of colours in each. Let your child help with this stage, they will love designing their new crayons.
Put them in the oven at 120oC for 10-20 minutes. The time will vary depending on the type and size of crayon so keep an eye on them. Remove them when they have melted.
Let them cool until completely solid.
Pop-out of the moulds.
Get colouring!
Paints – Let your child experiment with different types of paints to see what they can create. Younger children will love using ready-mixed paint. Older children might enjoy the challenge of using solid watercolours.
Give a limited range of colours to avoid the dreaded brown sludge! Mermaids are perfect for a pink, blue and purple colour scheme. If your little artist chooses to mix them all up they will just create more of these fantastic shades.
Make sure the paint you choose says washable on the packaging!
Collage – Rip up small squares of different coloured paper. Even better, have your little one practice their scissor control by cutting the squares themselves. They can stick the squares onto the mermaid individually, with a glue stick. Or, cover an area, like the tail, with PVA glue and let your child add lots of squares at once. Smaller features, like the face, are usually best coloured with pens.
Glitterand Embellishments – Make their creation stand out by providing exciting extras.
If you are brave enough to bring glitter into your house, here’s how to do it. Cover an area, like the tail, with PVA glue. Pour on the glitter. Pour off the glitter that didn’t stick, onto a sheet of paper. Fold the paper and use it to pour the spare glitter back into its container.
Top tip – Did you know you can seal the glitter to stop it from spreading all over your house, on your pets and in your hair? When dry, tap off any excess and gently add a layer of Mod Podge with a foam brush. Once dry add a second coat. Congratulations your child’s glitter creation is now safe to bring into the house!
Sequins are a slightly less messy embellishment that will make their mermaid just as sparkly!
Wool or string can be glued onto the hair to give their mermaid luscious locks.
Small pebbles and seashells would make an excellent addition to the seafloor.
What to Do with Your Child’s Mermaid Creation
So your child loves our mermaid colouring pages and you now have 14 wonderful creations to add to your, already overflowing, drawer of artwork. Don’t worry! Check out these fab ideas to use and display their mermaids.
Create Puppets
Stick your mermaids onto card and cut them out. Glue a lollypop stick to the back of each one. You could even do this with their marine mates, crabs, fish and starfish make great puppet show characters too. Now you are ready for the show. Make some space behind the sofa for your little puppet master to hide and have them peep their puppets over the top to start their performance.
Build A Mermaid Mobile
Punch holes around the edge of a paper plate and one in the middle.
Top Tip – You may want to decorate the paper plate first, in an under the sea theme.
Thread string through each hole and secure with a knot.
Make a loop on the middle string so that it can be hung.
Glue your mermaids onto card and cut them out.
Secure each mermaid to their own bit of string, you could use staples, punch a hole or sellotape.
Congratulations, your mermaid mobile is complete!
Decorate gift bags
Is your child having a mermaid themed party? Decorate plain gift bags by cutting out the mermaids and gluing one on each. Their friends will be thrilled by the personal touch and your child will love choosing the perfect mermaid for each guest. Add one of our Free Activity Sheets To Suit Every Childs’s Hobby with mazes, word searches and more colouring fun to each bag. There are 15 themes to choose from, including mermaids, and they make a great party activity!