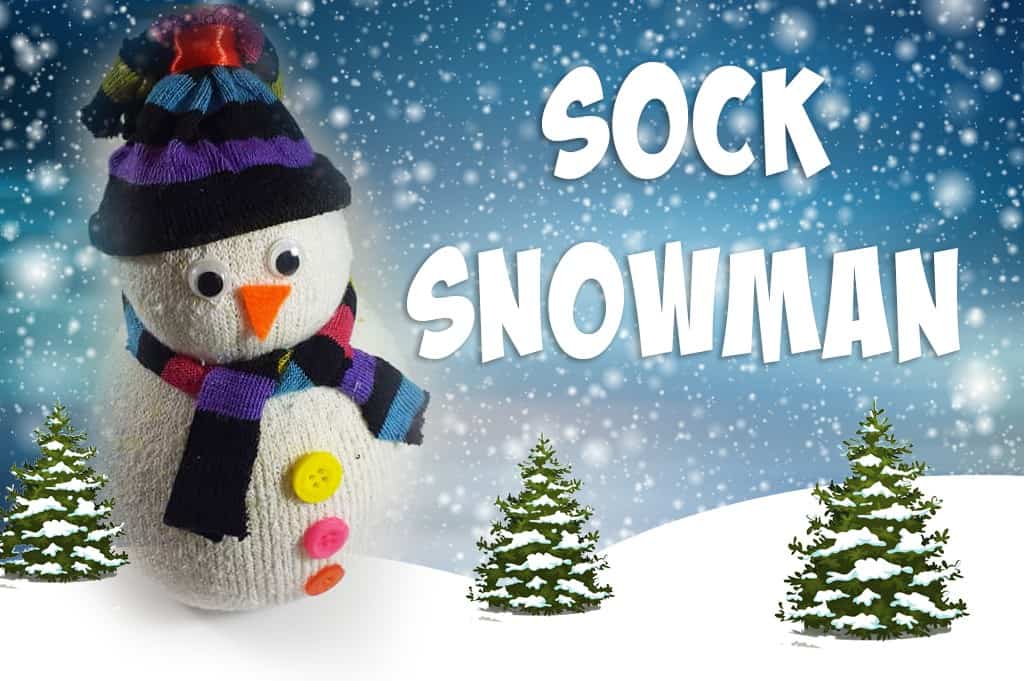
How to make a snowman out of socks. It might sound like a funny idea, but have you ever wanted to know how to make snowmen out of socks? If so, we can get you started on a really fun sock snowman project – and it’s a great way for you and Mummy or Daddy to get into the Christmas spirit. It’s cheap, easy, and so much fun, especially if they’ll let you cut up Daddy’s socks! So, how do you get started on making a snowman from a sock?
Materials:
For your sock snowman, you’re going to need:
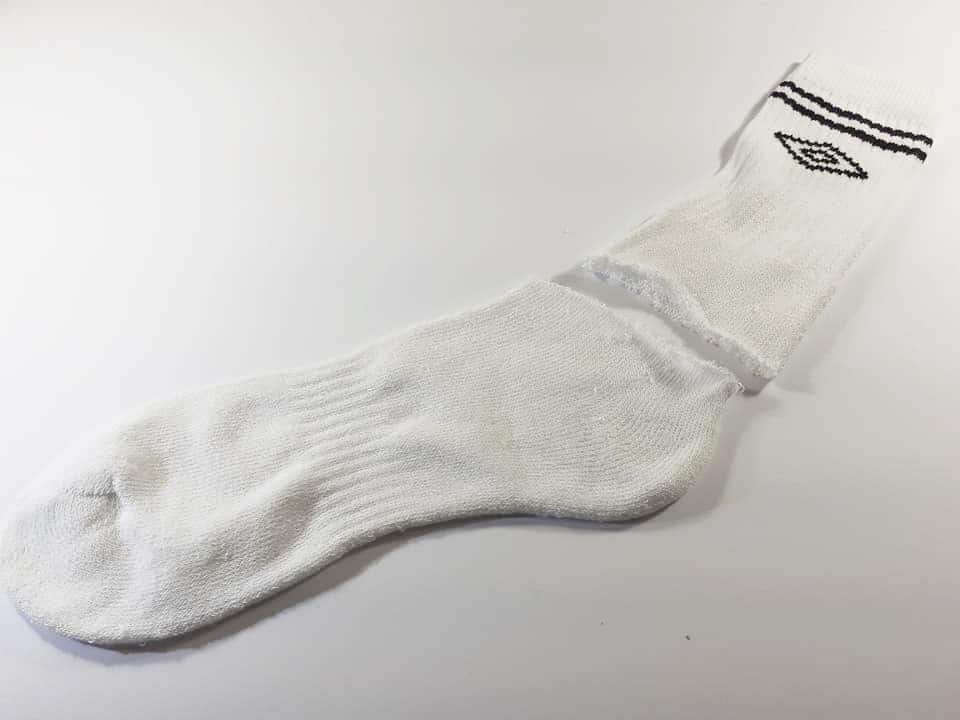
• A white sock
• Two coloured socks (these are for making hats and scarves, so choose colours you’d like your snowman to wear)
• Scissors
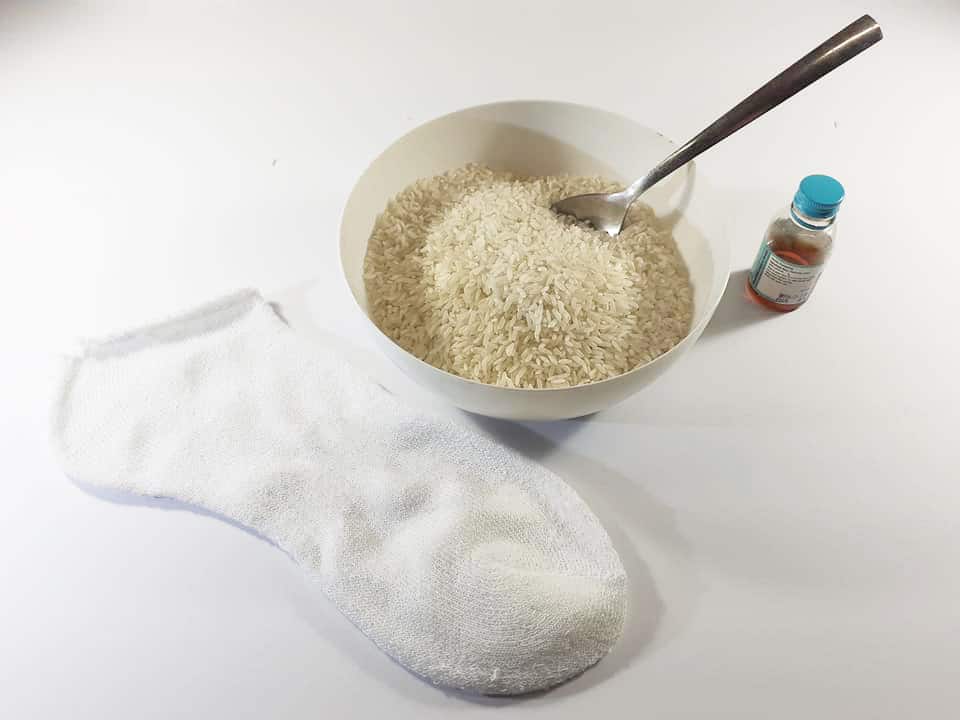
• Rice (about 500g-1KG)
• An essential oil of your choice
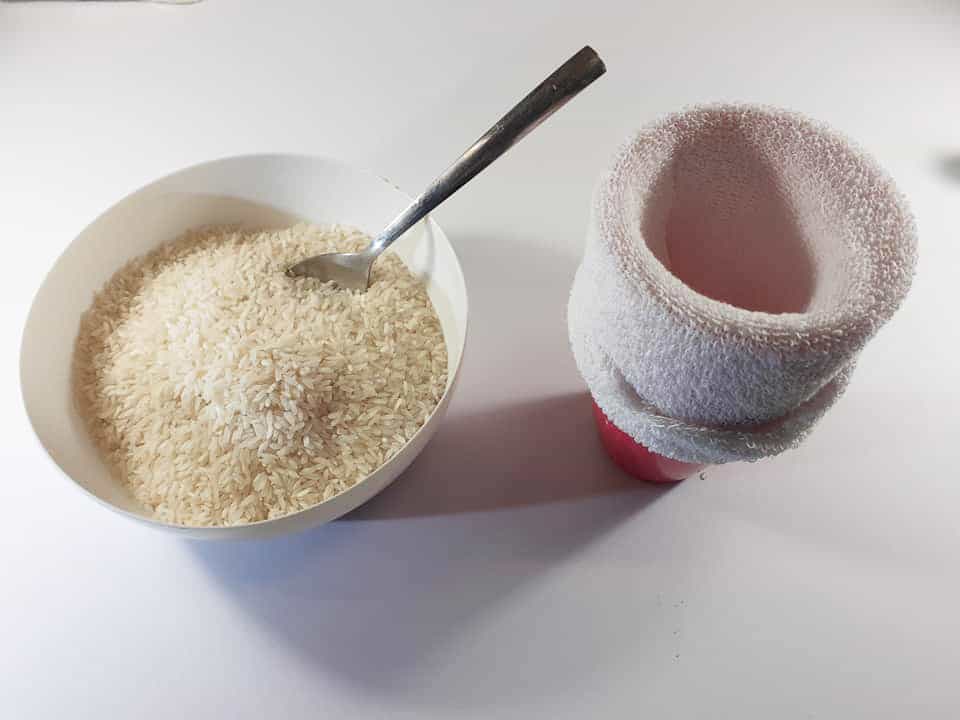
• 1 drinking glass
• White elastic bands
• A glue gun – make sure you have an adult to help you with this so you don’t burn yourself
• Googly eyes or buttons to use for the snowman’s eyes
• Buttons or sequins for the front of the snowman’s tummy
• Orange felt
• A ribbon for the snowman’s hat
Ready? how to make a snowman out of socket’s get started. Soon you’ll be able to tell all your friends how to make snowmen out of socks! I bet you don’t know many people who can make a sock and rice snowman.
Step 1, cutting out the body:
Cut the top of the sock off, just above the heel – you’re going to be using the toe part for your sock snowman craft, so you can put the rest to one side.
Step 2, filling the body:
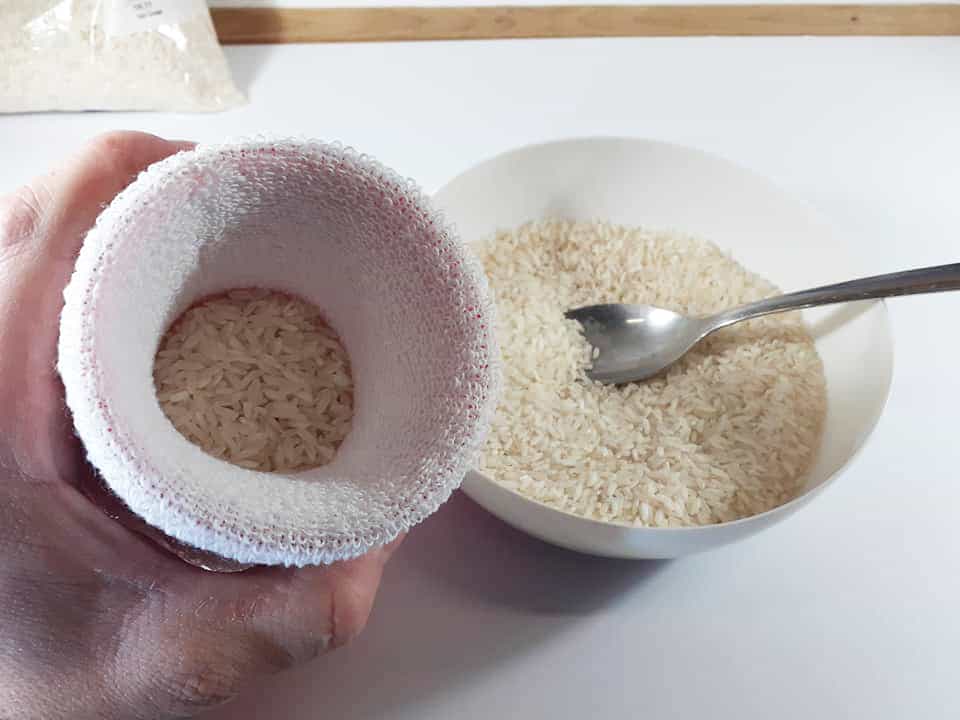
Pour some rice into a bowl, and add a few drops of the essential oil, and then stir. You can add a nice, Christmassy smell if you like. Put your sock into a drinking glass and roll the top of the sock over the top of the glass. This will make it nice and easy to spoon in some rice without spilling it. Fill your sock most of the way up, and then tap it on the table a bit to push the rice down.
Step 3, making the body:
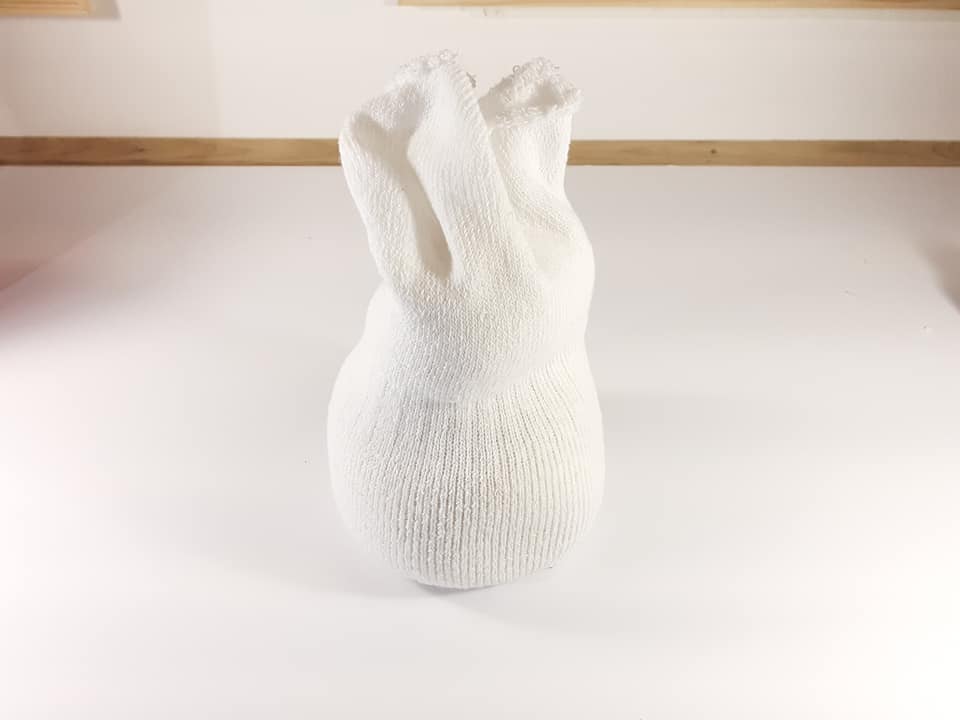
Wrap an elastic band around the sock just above the rice. Cut off the bit of the sock that’s left at the top, but don’t cut so much that the elastic band falls off. Your rice sock snowman is starting to take shape!
Step 4, making the head:
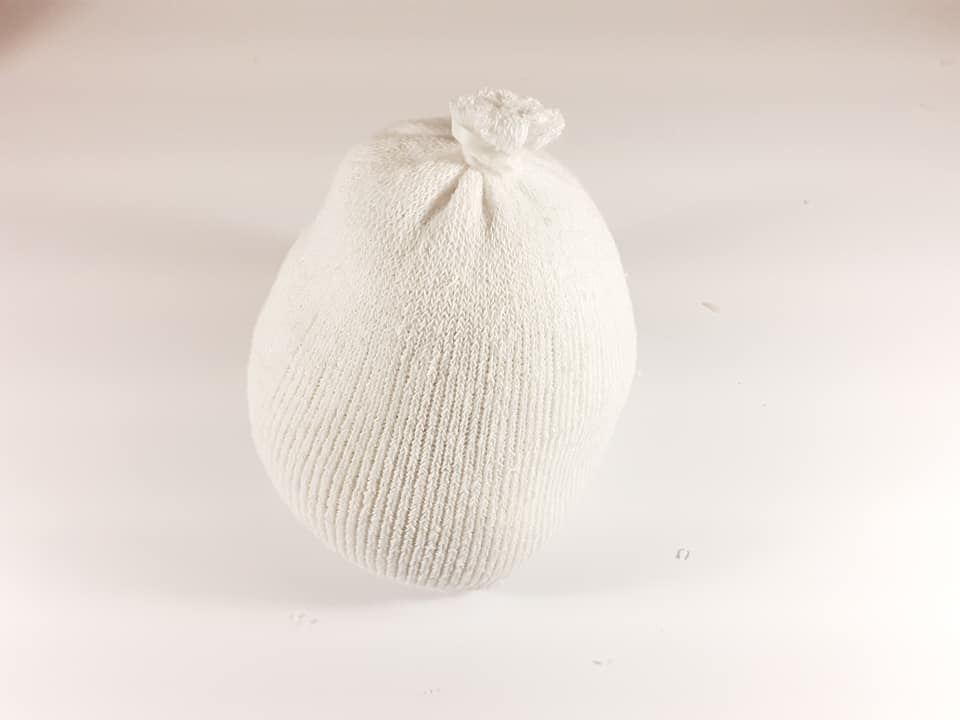
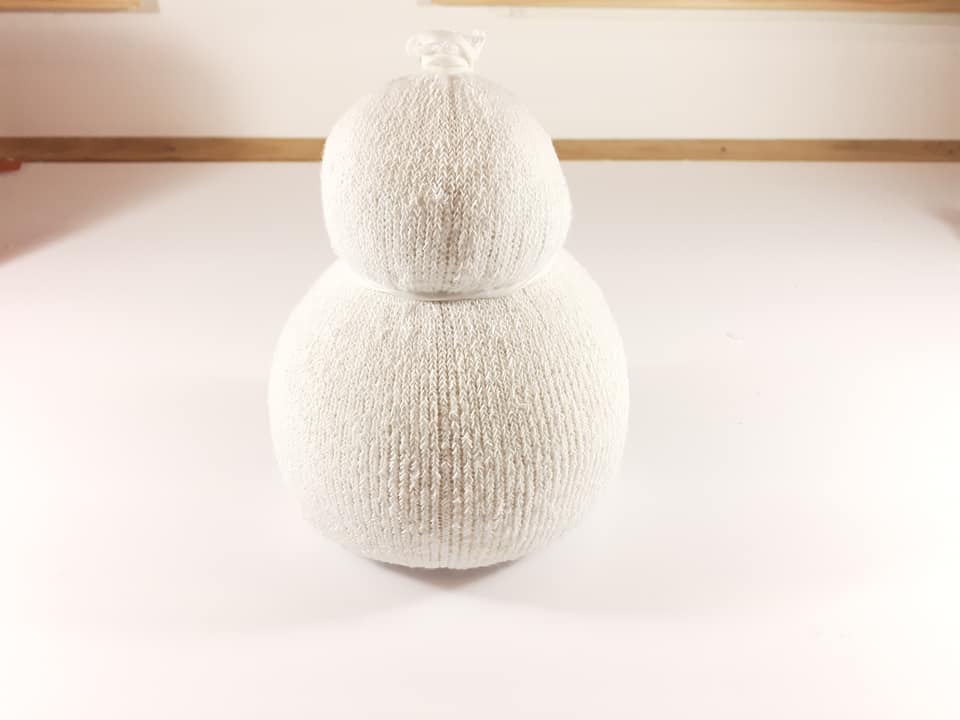
Wrap another elastic band around the sock, a bit above the middle. This will make the head. Squish it around a bit until you get a shape which looks right to you.
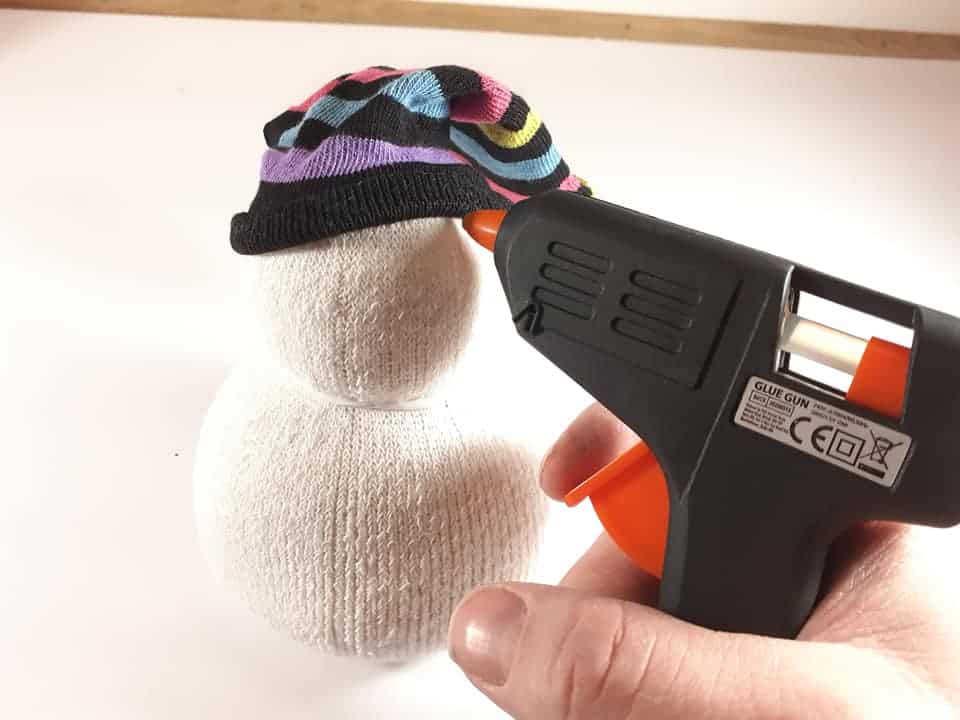
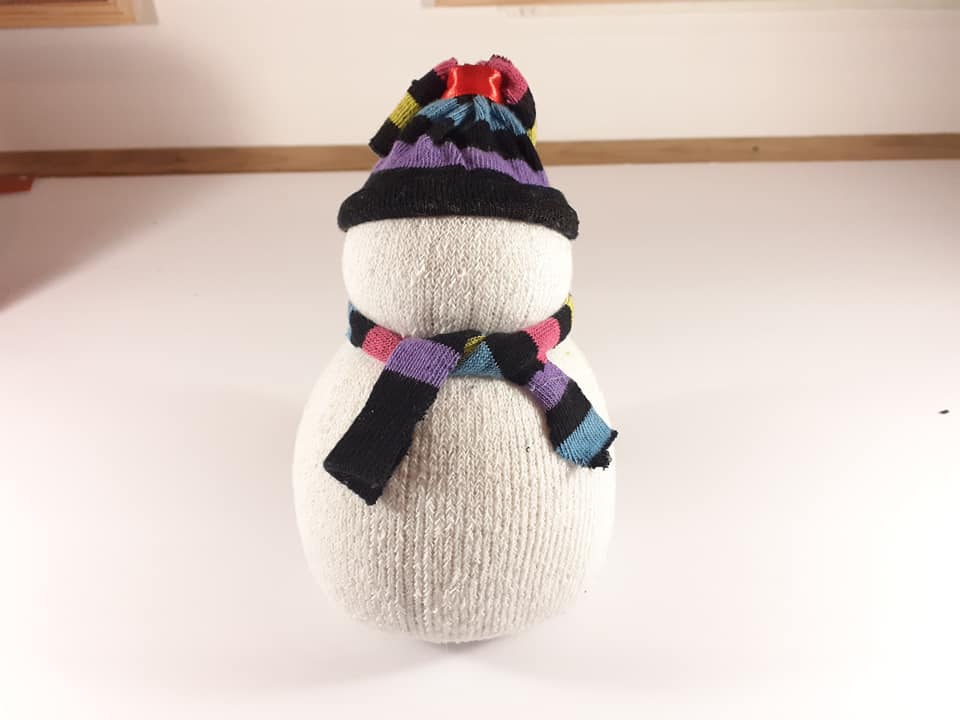
Step 5, making the hat:
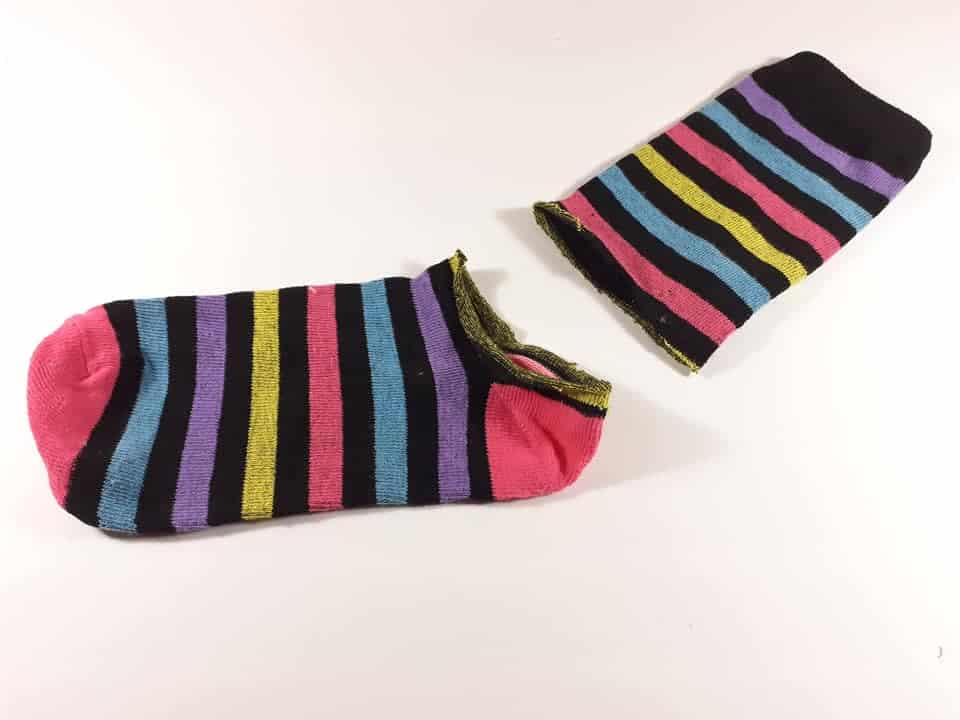
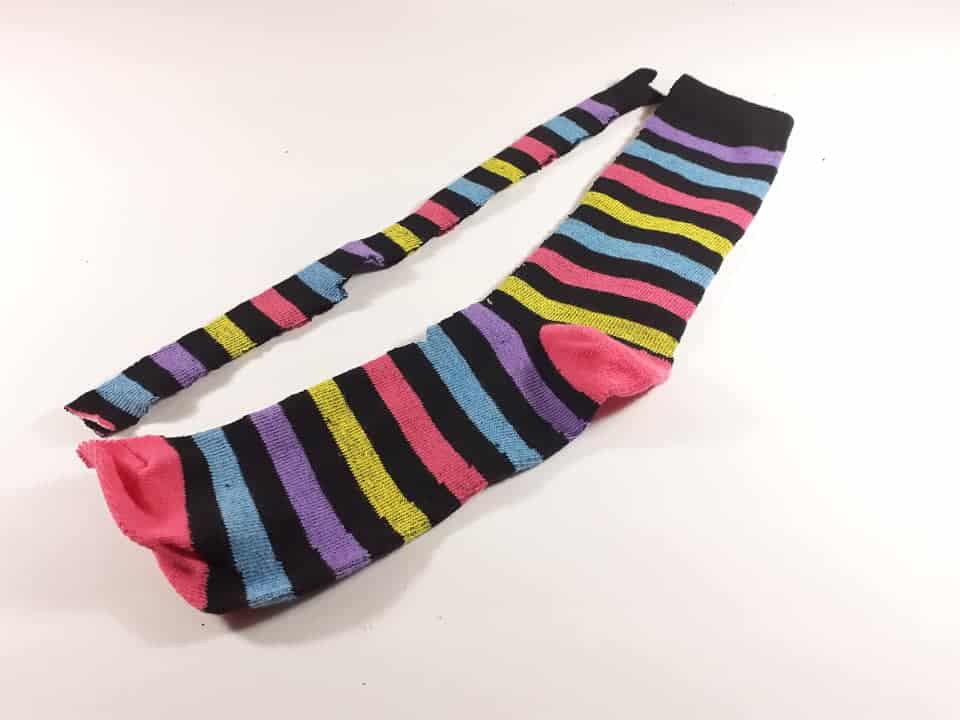
Take one of your coloured socks and cut it, just above the heel again – but this time you want to keep the part which would cover your ankle, not the bottom part where your foot goes.
Get your glue gun nice and hot. Put the sock on your snowman’s head, with the elastic side going on first. This would be the very top of the sock if you were wearing it, and you’re going to turn it up so that it’s the rim of the snowman’s hat. Wriggle it so you’re happy with the position, and then get Mummy or Daddy to help you glue it in place. Don’t burn your fingers!


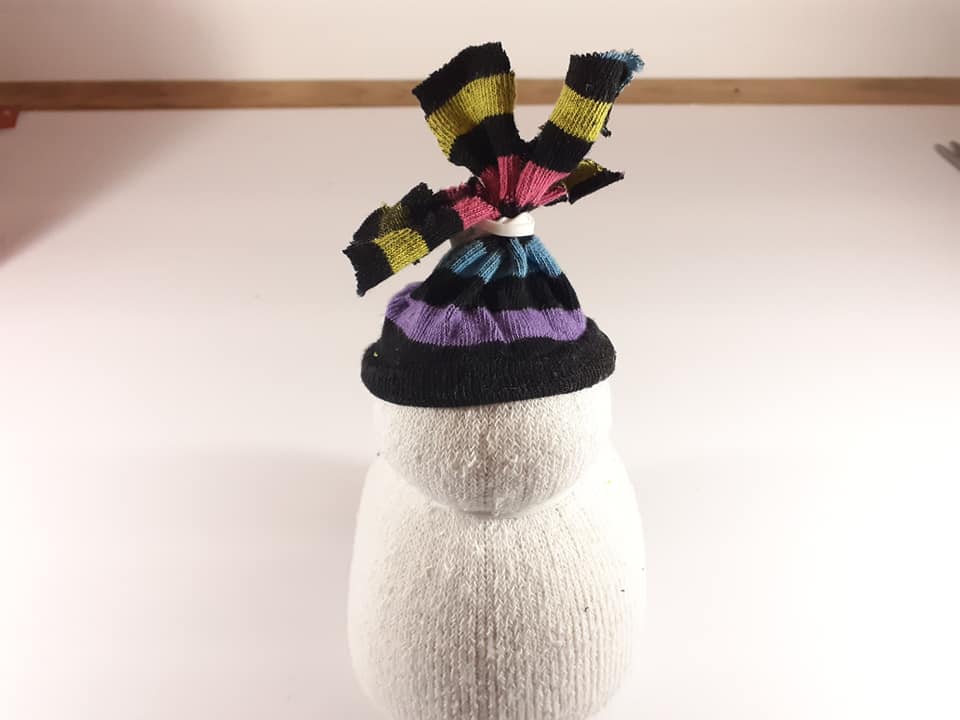
Step 6, finishing the hat:
Scrunching the hat! You’re going to take an elastic band and wrap it around the hat, just above the bobble of leftover fabric on top of the snowman’s head. You can wriggle it around until it looks good, and even tip it a bit to the side if you want to.
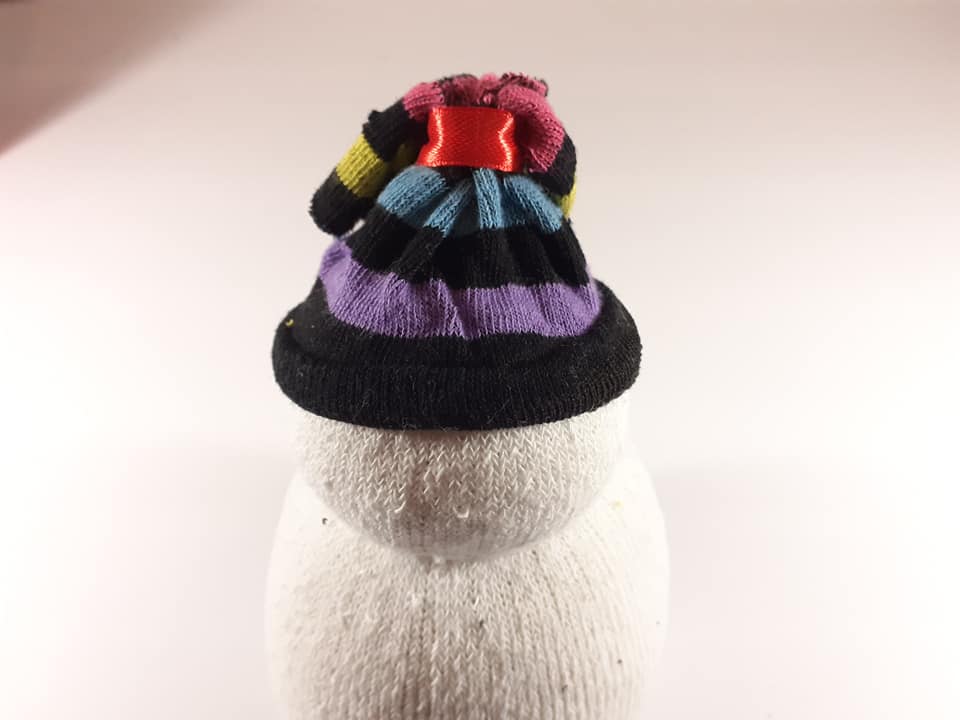
Next, we need to make the top part of leftover fabric look more like the top of a hat. Take some scissors and cut down towards your snowman’s head in lines. You’ll get a nice fringe effect to finish off your hat. Next, you can tie a ribbon around the top of the hat, over the elastic band. You can tie a bow or just a knot. Your snowman sock project is almost finished!

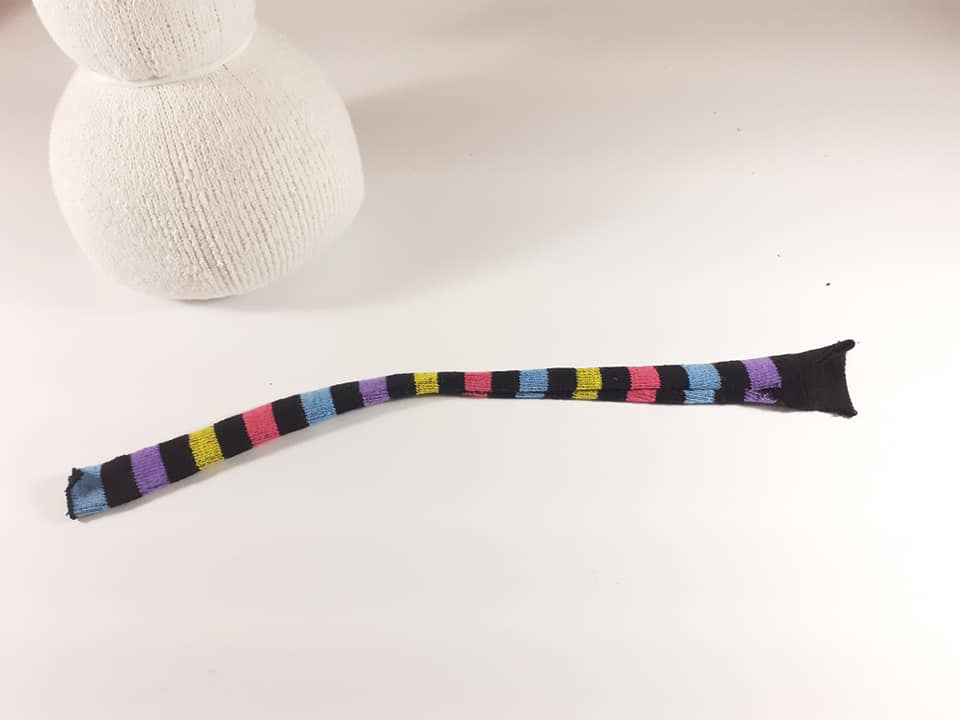
Step 7, a nice, warm scarf:
Next, take your other sock and cut along the length of the sock, from the top of the toe to the heel. This will give you a nice, long piece for your scarf. Wrap this around your snowman’s neck to hide the other elastic band. Fold the sock over itself at the front to form the scarf knot, and then get a grown-up to help you stick the scarf down with your glue gun. You can fringe the ends of the scarf again, like we did with the hat, or leave them alone.
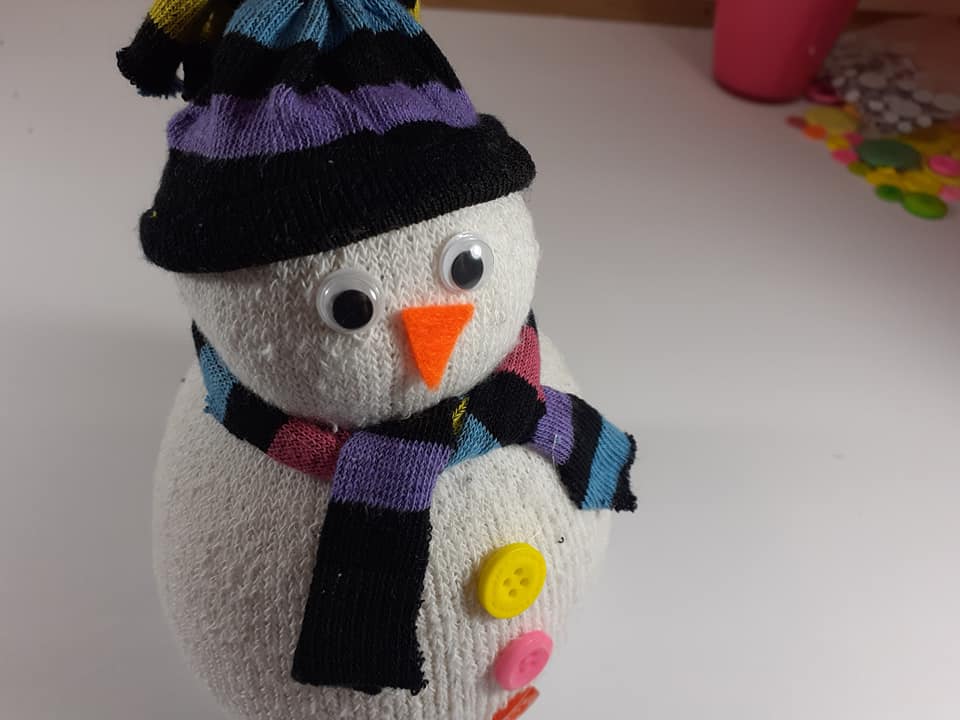
Step 8, decorating your rice sock snowman:
Add eyes! You can glue these in place just under the hat. Get a grown-up to help you cut a small triangle out of your orange felt, and glue it in place for the nose. Tuck the scarf to the side a little bit to make more space, and stick the buttons you’ve chosen to the snowman’s tummy. If you want to, you can also stick a sequin or button on the hat for decoration.
That’s it! That’s how to make snowmen out of socks! If you want to make your next sock snowman craft look a bit different, you could cut out the foot part of your colourful sock, removing the toe and the heel, and use this to cover your snowman’s body like a coat!
You could make an easy sock snowman for each of your friends for their Christmas present, or show them these sock snowman directions so they can make their own. You could even ask your teacher if you can show your class how to make snowmen out of socks, and get a sock snowman craft project going in your classroom.