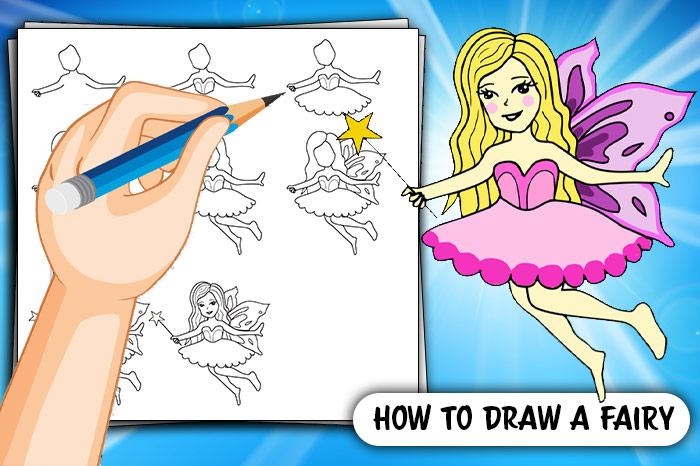
Magical, mythical and mysterious, fairies are beautiful fictional characters that continue to capture our imaginations.
Most fairies are depicted as tiny humans with wings, with some having unique features such as pointy ears or webbed fingers. Whether they’re flying around an enchanted forest, or helping a hopeless Cinderella’s dreams come true, the mystery of a fairy is what makes them so enticing.
Drawing a fairy is actually a lot simpler than you’d think. Whilst minor details and colours can be added or adjusted, the main body and characteristics of a fairy are usually quite similar.
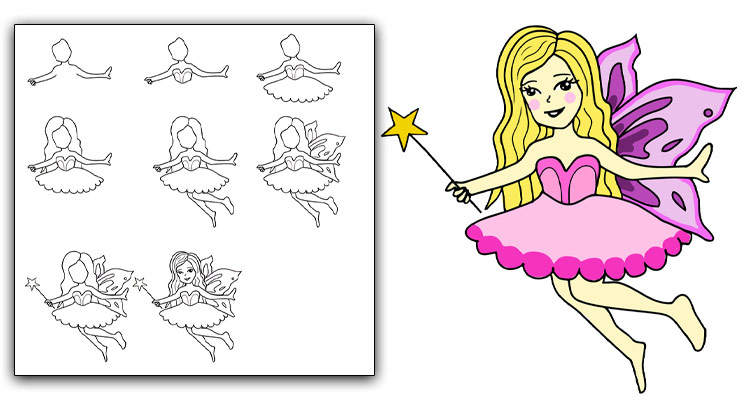
Luckily for you, we have simplified how to draw a fairy into 9 easy steps. Whether you’re an aspiring artist, or just want to learn how to draw a fairy for fun, each instruction is easy to follow and accompanied by a matching illustration.
As long as you have a sharp pencil or a tablet stylus, you’re good to go!
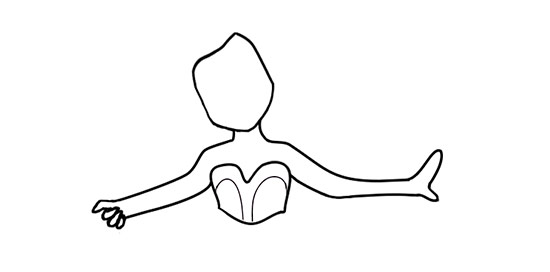
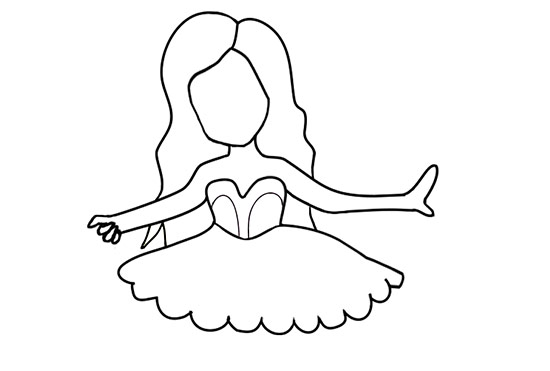
Step 1: Start with the head and arms
Near the top of your page, begin by drawing an irregular shape to outline the fairy’s head. Aim to have a longer length than width, and a small bump for the chin and the top of the face.
Underneath your head shape, draw two curved lines for the neck extending into arms.
Be sure to leave some space for the upper body, and ensure both arms are even and aligned.

Step 2: Design the upper body top
Every fairy needs a pretty costume. The first stage is to add a cute corset-style top to the fairy’s upper body.
Draw two curves, in the shape of a heart, filling the gap between your fairy’s arms. Complete your fairy’s top by connecting the curves with a horizontal line at the bottom.
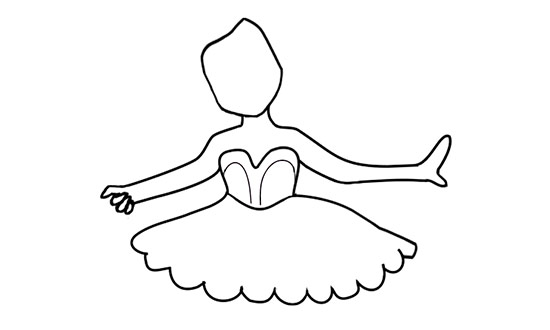
Step 3: Add a flowing skirt
Now your fairy has a top, you can complete the outfit by adding a princess-style skirt.
Just below the top, draw two outward curves, connected by a frilly hem at the bottom. Your skirt can be as floaty or as flowy as desired, as this is all about learning how to draw a fairy creatively!
You may wish to add a design or pattern to customise the skirt, or wait until you get the colours out later.
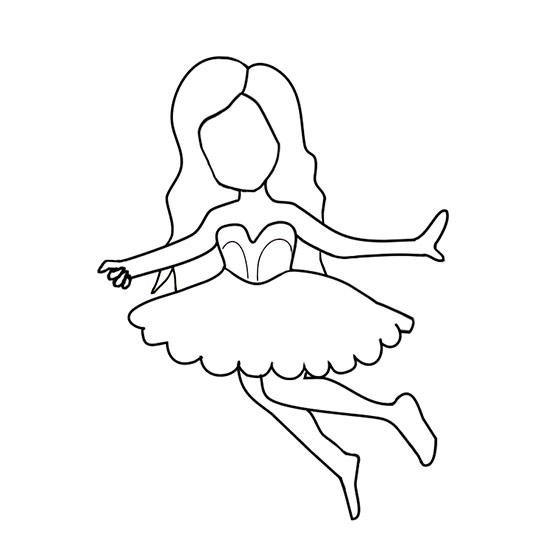
Step 4: Create beautiful fairy hair
Typically, female fairies will always have big, bold and beautiful hair. And this one is no different.
Draw a vertical hairline just above the outline of the face we completed earlier. A good place to start would be around the top bump of the previously drawn irregular shape.
Then, freely wave your pencil down the page. Draw a curved line to outline the style of the fairy’s glamorous hair, going as long or as short as you wish. Ours reaches right behind her skirt, to give the impression she has long, flowing locks.
Step 5: Finish the body with some legs
As most fairies fly, you’ll need to draw some legs which reflect this. Drawing your legs at an angle will help to create this effect.
Begin with the front leg, drawing it at roughly a 90 degree angle. Be sure to outwardly curve the calf and give your fairy a foot.
Then, draw the back leg at a more vertical angle, with a slight raise to the right. If both legs seem to be ‘floating’, it will give the effect of your fairy flying. This is one of the most important things to remember when learning how to draw a fairy.
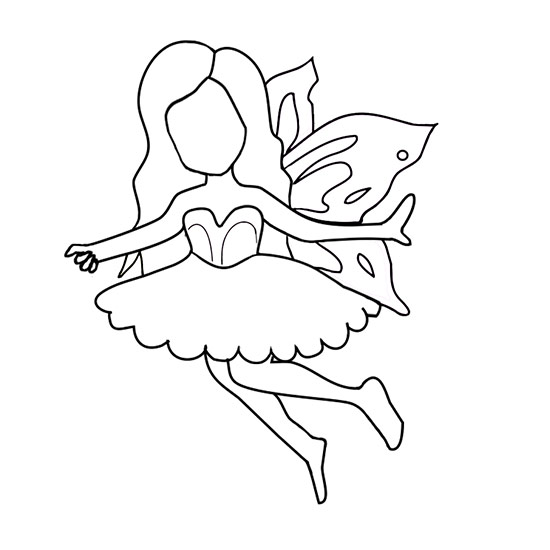
Step 6: Give your fairy some flight by adding the wings
Typically, the magical wings are the most attractive and beautiful part of the fairy.
As they are normally large in size, be sure to draw the wings big enough to suit the fairies body.
Start by drawing the right wing, shaped just like a butterfly. If you’d prefer rounder wings, just curve the edges rather than adding pointy corners. Draw whichever shape you believe looks best for you!
Just be sure that your wings are big enough to stretch from the fairy’s head, to the fairy’s skirt.
Step 7: Add a touch of magic with a fairy wand
Every fairy needs a wand, right?
In the fairy’s left hand, draw a vertical straight line to represent the fairy’s wand. Finish it with a five-point star to add that extra bit of sparkle.
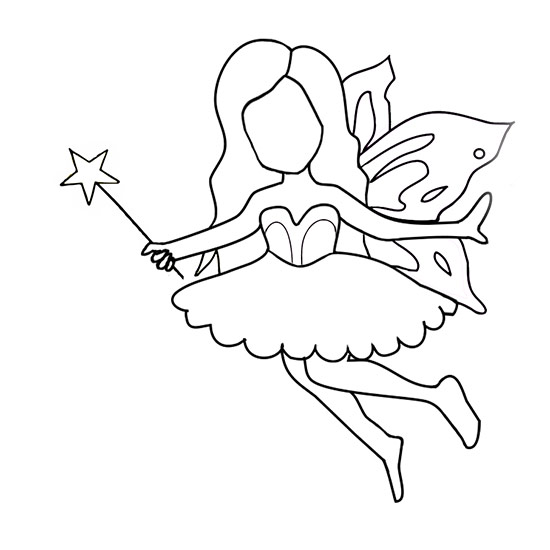
Step 8: Give your fairy a smile
You’re nearly there!
All that’s left is the finer details, including the fairy’s face. Add a beaming smile, large eyelashes and rosy red cheeks to really bring your fairy to life.
Remember to shape your fairy’s face with two curved lines for eyebrows.
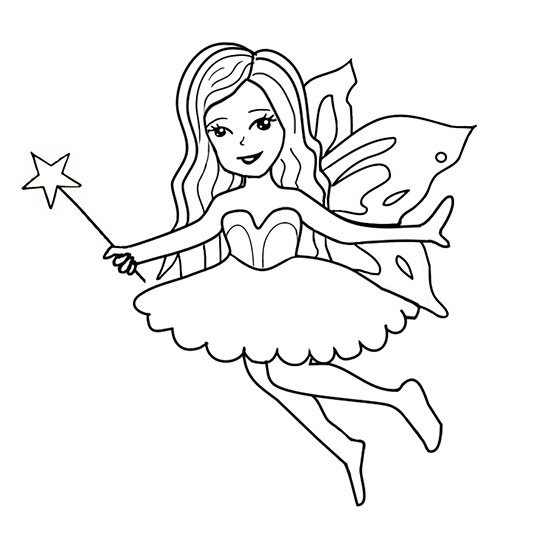
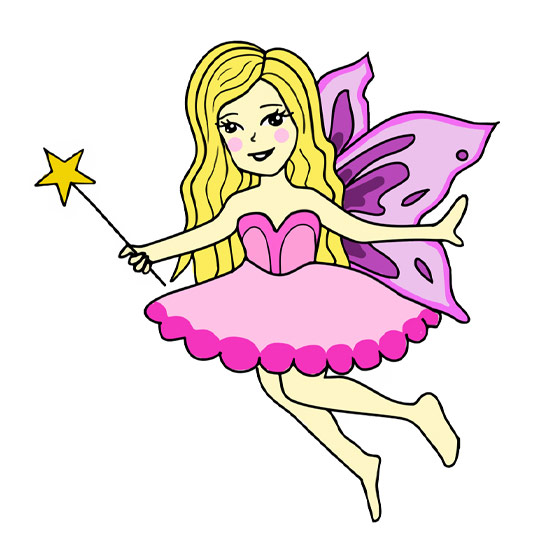
Step 9: Bring your fairy to life with colour
The final step – add some colour!
Bring your design to life by adding pinks, reds, golds or whatever you may desire. Add a pattern to the skirt, draw some shapes on the wings or add some glitter to the wand. It’s time to get really creative!
Test your creative skills by adding some shading, especially when playing with the texture. Add darker shades around the edge of the wings to make them really stand out, or add some voluminous layers to your fairy’s hair with different shades of blonde, brown or a wacky hair colour of your choice!
Congratulations – you have created your own magical fairy!
You now know the basics of how to draw a fairy. It’s now up to you what you do with it!
Why not try and draw a boy fairy, with spiky hair and large, green wings? Or an evil fairy, who has been locked away in a castle, turning red with anger through years of captivity?
The possibilities for drawing fairies are endless, and not only will you have brilliant artistic designs, but you’ll have hundreds of ideas to write your own fairy story!
Trust me, your fairy adventures are only just beginning…