When I was a kid I can remember having my first phone and it wasn’t one that you could send text messages, make phone calls or play on the latest apps. Not many children nowadays know how to make a tin can telephone because these smart phones take over, but I can promise it is very easy and a very fun art and craft to try.
In this day and age, we can make a telephone or Zoom call to a friend or a relative on the other side of the world with a few clicks of a button. How amazing is that?
If we talk to someone in the same toom, the sound of our voice makes the air surrounding us vibrate. Then the air vibrations make the little bones in our ears vibrate, which we hear as sound.
In mobile telephones, these vibrations are turned into electrical signals and then travel on radio waves.
However, we are going to take you back in time to the first telephone that was used through the vibrations. Can you guess what it looked like?
It was made of two cans and a piece of string. You may be thinking what use would that be to anyone? However, I had hours of endless fun having very important calls with my friend at the other end of the can.
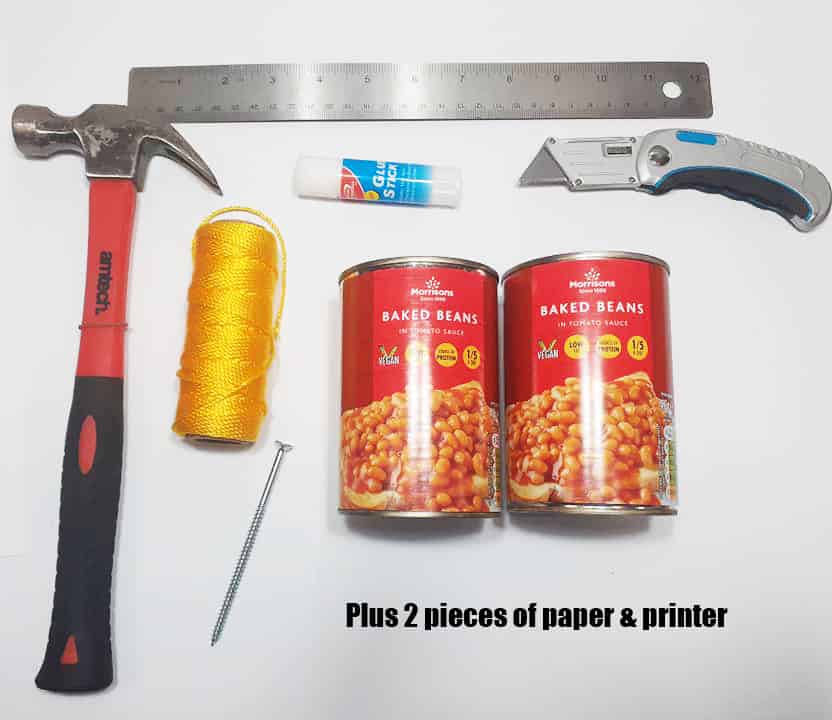
What tools you need to make a tin can telephone
- Hammer
- Ruler
- Two tins of your choice (as you can see i went for bake beans)
- Nail or screw
- Glue
- Knife or Scissors
- 2 pieces of paper and printer
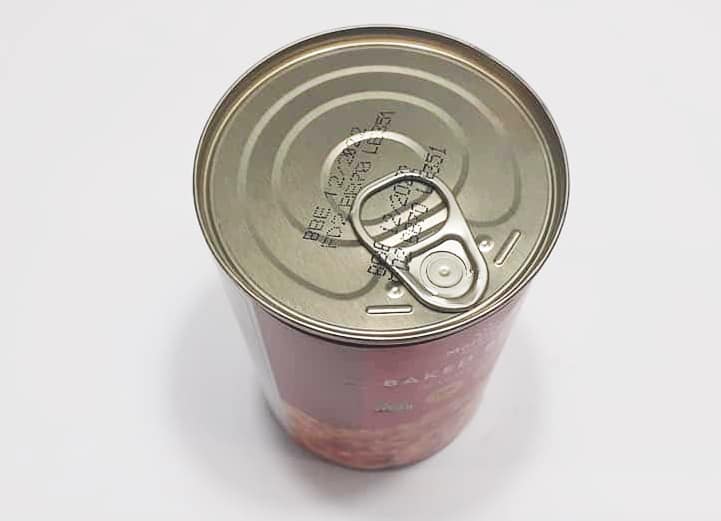
Important note: Try to find tin cans that have rings pulls (pictured below) as they work best and don’t leave sharp edges which is must safer for everyone.
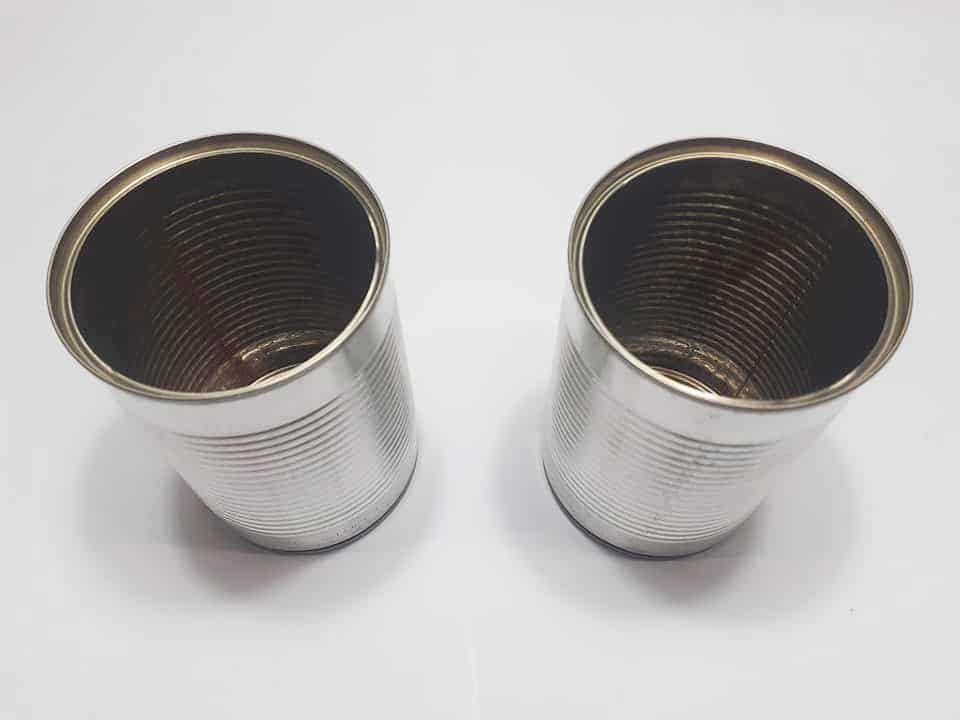
Step 1
Find two identical tin cans that match the height and width of each other. Then most importantly, remove both tin ring pulls and eat the contents or wait until someone in your household has empty tins. You can have three guesses at what I made with my tin cans.

Step 2
Remove the outer paper labels. Some of the labels do come off easier than others so you may need to ask for the help of an adult if the label is sticky. When removing the labels be careful not to touch the edges of the tin can as they could be sharp and you don’t want to be cutting yourself!
Step 3
Next, we need to add a small hole to the end of both tin cans. We will need to use a hammer and a small nail for this. This is a job for an adult so make sure to ask your mummy and daddy to do this for you.
Step 4
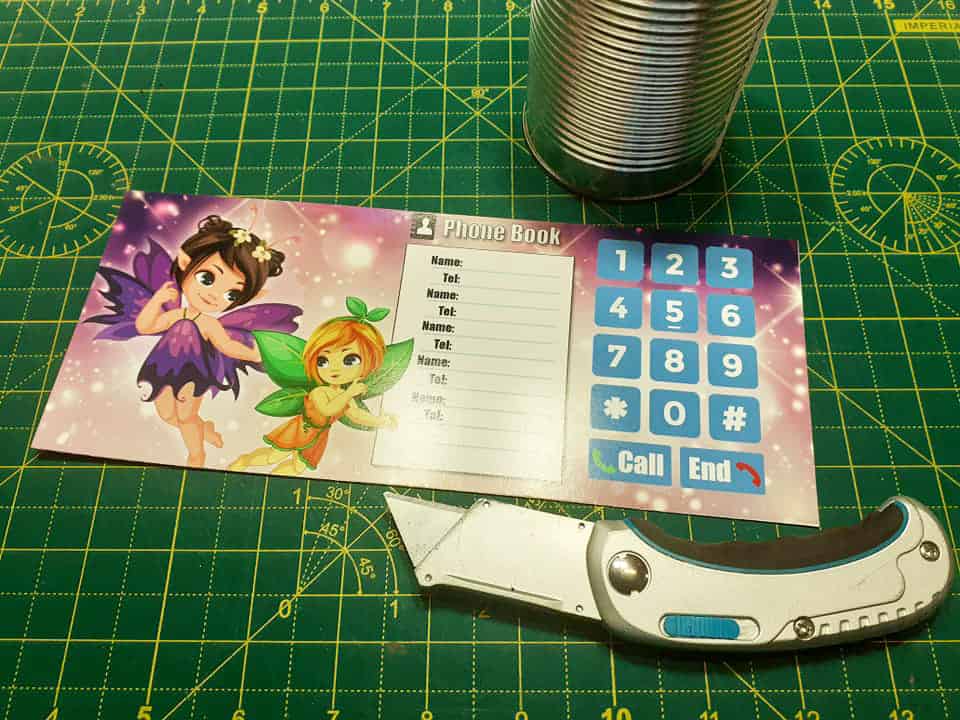
Now it is the fun part! We need to select two of the pre-made tin phone sleeves to cover the outside of the tins. I decided to choose the unicorn and fairy sleeves for this project because I fancied making my tin phones magical and fairy-friendly, but don’t be afraid to mix and match. I want to see all the ideas you come up with. You will need to print them off and cut them to size.
Designs samples
Here is the range of designs I have premade if you aren’t feeling creative. Although I have left one of the designs empty for you to draw and colour your own mystical creature or pattern. Let your imagination go wild!
Each of the premade samples has five spaces to save your friends numbers so you will never to write them down. Don’t forget that you have five spaces on each tin can so in total that is ten spaces to find friends and get their numbers.


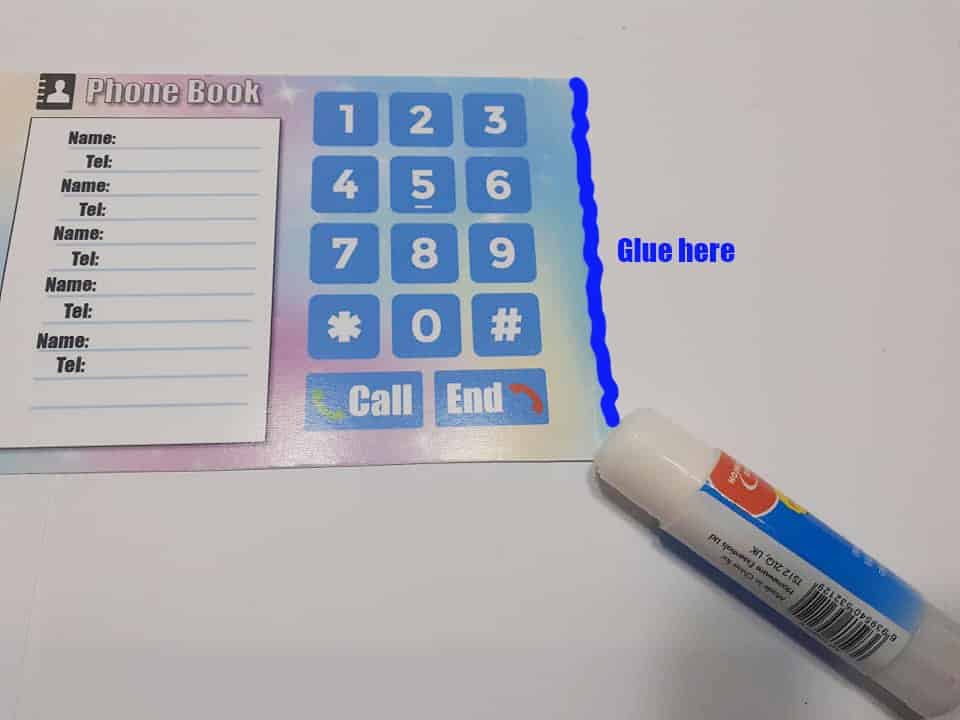
Step 5
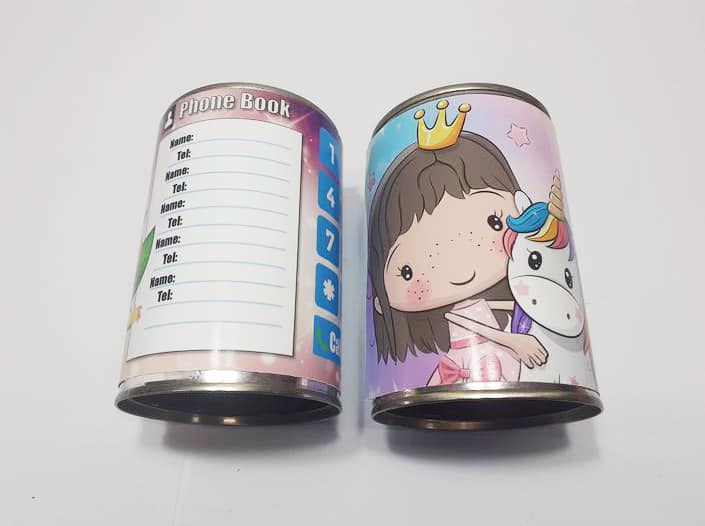
This step is the tricky part as you will need to wrap the sleeves around the tin and stick the ends of the sleeves together. I found it easier to add a bit of glue to one end of the sleeve and then wrapped the sleeve around the tin then attached the glue covered end under the other end of the sleeve and press together. If your sleeve ends are sticking together very well then I suggest using a bit of sticky tape to make sure they hold together.
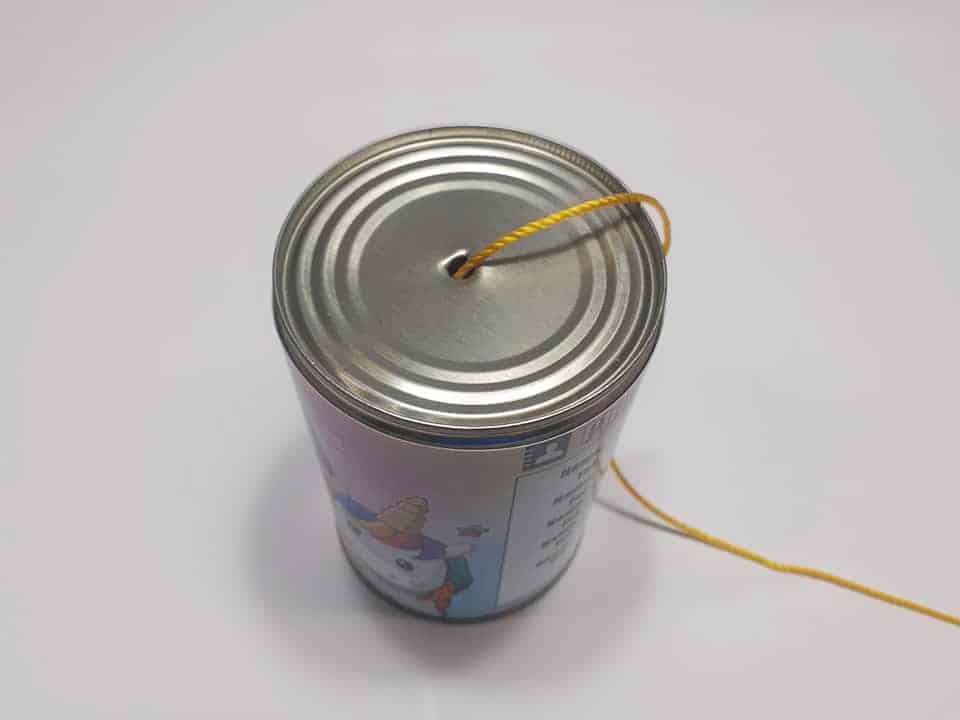
Step 6
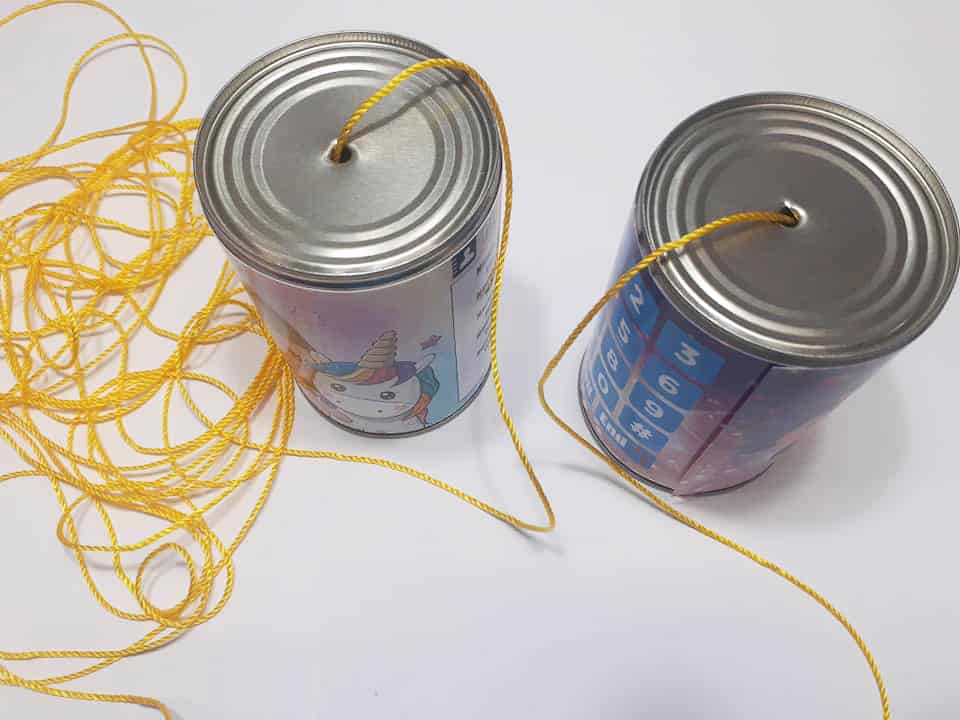
You are almost there. It is time to add the string. What colour will you be going for? I decided to go for some yellow to string as it is a bright and happy colour and reminds me of sunshine. I simply put the string through the hole and tie a big knot in the end. Be careful when threading through the string as you do not want to cut yourself.
You also must remember that you need to think about how long you want your string to be. If you to have a conversation with your friend or relative from a different room then you will need to make sure your string is cut longer, however if you are happy to talk to each other from the other side of the bed/ sofa then a shorter piece will do the trick.
I cut the string to the length I want to use for the phones and then put the string through the other tin and tie another big knot. You might want to double knot the string to make sure it is secure and does not fall out of the can.

Congratulations you have just built your own very smart tin phone! Who is lucky enough to have the first phone call with?
To use your new tin can telephone hold one end of the tin can and give the other tin can to someone else. Whilst holding your can begin to walk away from each other until the string between the cans is tight and feels like it could break.
Speak into the open end of one can while your partner listens to the open end of their can. Make sure to switch it around and listen. The sound of your voice vibrates the can and causes the strings to vibrate.
The person at the other end of your tin can telephone hears your message a couple of milliseconds after you have said it – after their ear have collected the sound vibrations and sent them to the brain to be processed.
How did you find making your tin can telephone? Does your tin can telephone work?
I would love to see what your tin can telephone looks like, so be sure to leave a comment below! And if you are feeling in the art and craft mood, check out the website to find more cool family friendly crafts to try.
Stay safe,
Gavin