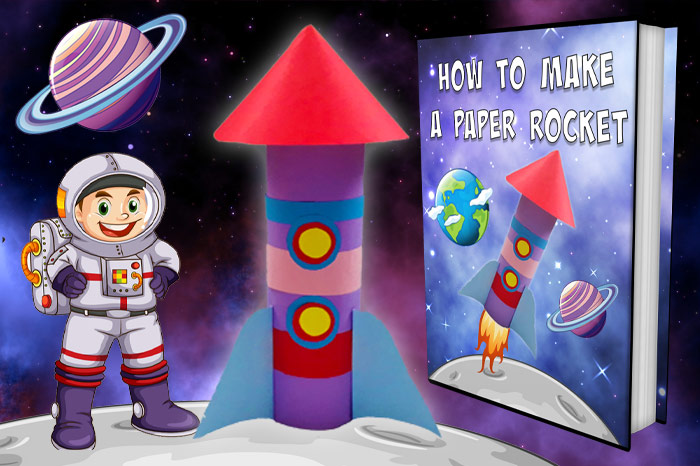
Can you remember staring into the night sky as a child? Wondering and dreaming of what it’s like to float amongst the stars. I certainly can and like me, most of us dreamt of growing up to be an astronaut. Now you can spark that same dream with our 10-Step tutorial on how to make a paper rocket ship. Our Rocket Ship is really easy to build and full of learning opportunities to point out different colours, shapes and parts of a Rocket Ship. All you need is recycled items and you and your kids are ready to start the fun! Now let’s get building!
Materials you will need To Build Your Roket Ship

- Plastic bottle
- Color A4 papers
- Scissors
- Glue
- Marker
How to create a paper rocket Ship out of paper
Step 1
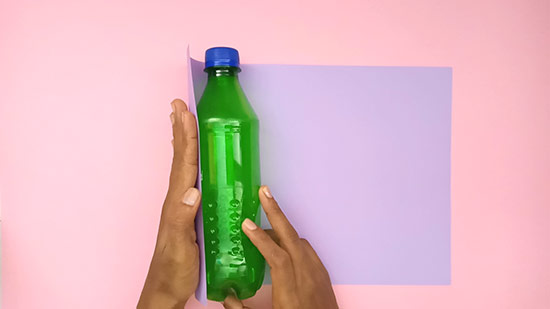
Cut the A4 paper the same height as the plastic bottle and wrap around the bottle.
Step 2
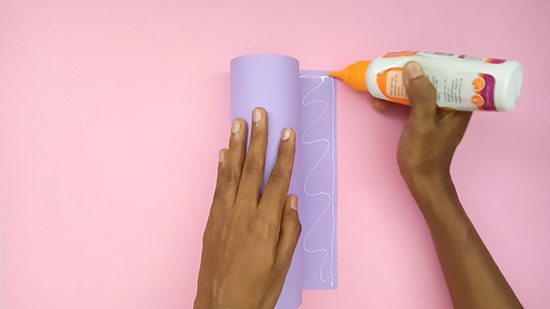
Glue the edge of the paper and stick tightly. This forms the main body of the rocket.
Step 3
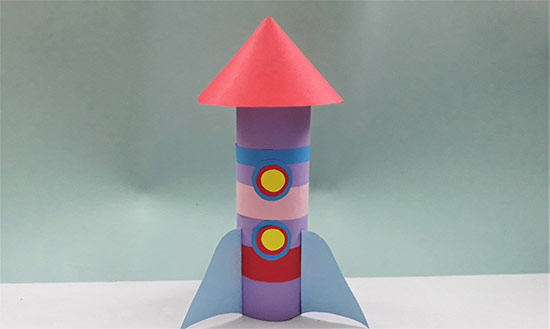
The top part of the rocket is called “Nose cone”. To create the nose cone, draw and cut a circle out of paper. Make sure that circle circumference should be larger than the circumference of the rocket body circle.

Step 4
Cut away ¼ pie piece of the circle.

Step 5
Roll the paper and glue the edge lines together to make a cone. Glue this cone on top of the rocket body.

Step 6
Get paper strips in 3 colors as your favor and glue it around the rocket body.

Step 7
Cut 3 sizes of small circles in three colors. Glue the smallest on the medium size circle and medium circle on the bigger one. Glue it on the rocket body. This forms the window of the rocket and you can make even two windows and that will be perfect.

Step 8
The rocket body holding parts are called fins. To make fins, draw a triangle out of paper and shape it as a fin. Cut 3 fin shapes of the same size and color.

Step 9
Fold and create a small margin on the side which we need to stick the fin to the rocket body.

Step 10
Stick fins to the bottom of the rocket body.

Your cute space rocket is ready to launch! Three, two, one… Blast off!
If you liked our how to make a paper rocket ship tutorial, please check out our other fun crafts.

